Welcome to part 1 of making a game engine. In this part, we will be drawing some graphics.
YouTube LinkBut first, we need to understand today's graphics hardware. Today, we use GPUs, which stands for Graphics Processing Units. These are specialized processors designed for drawing graphics.
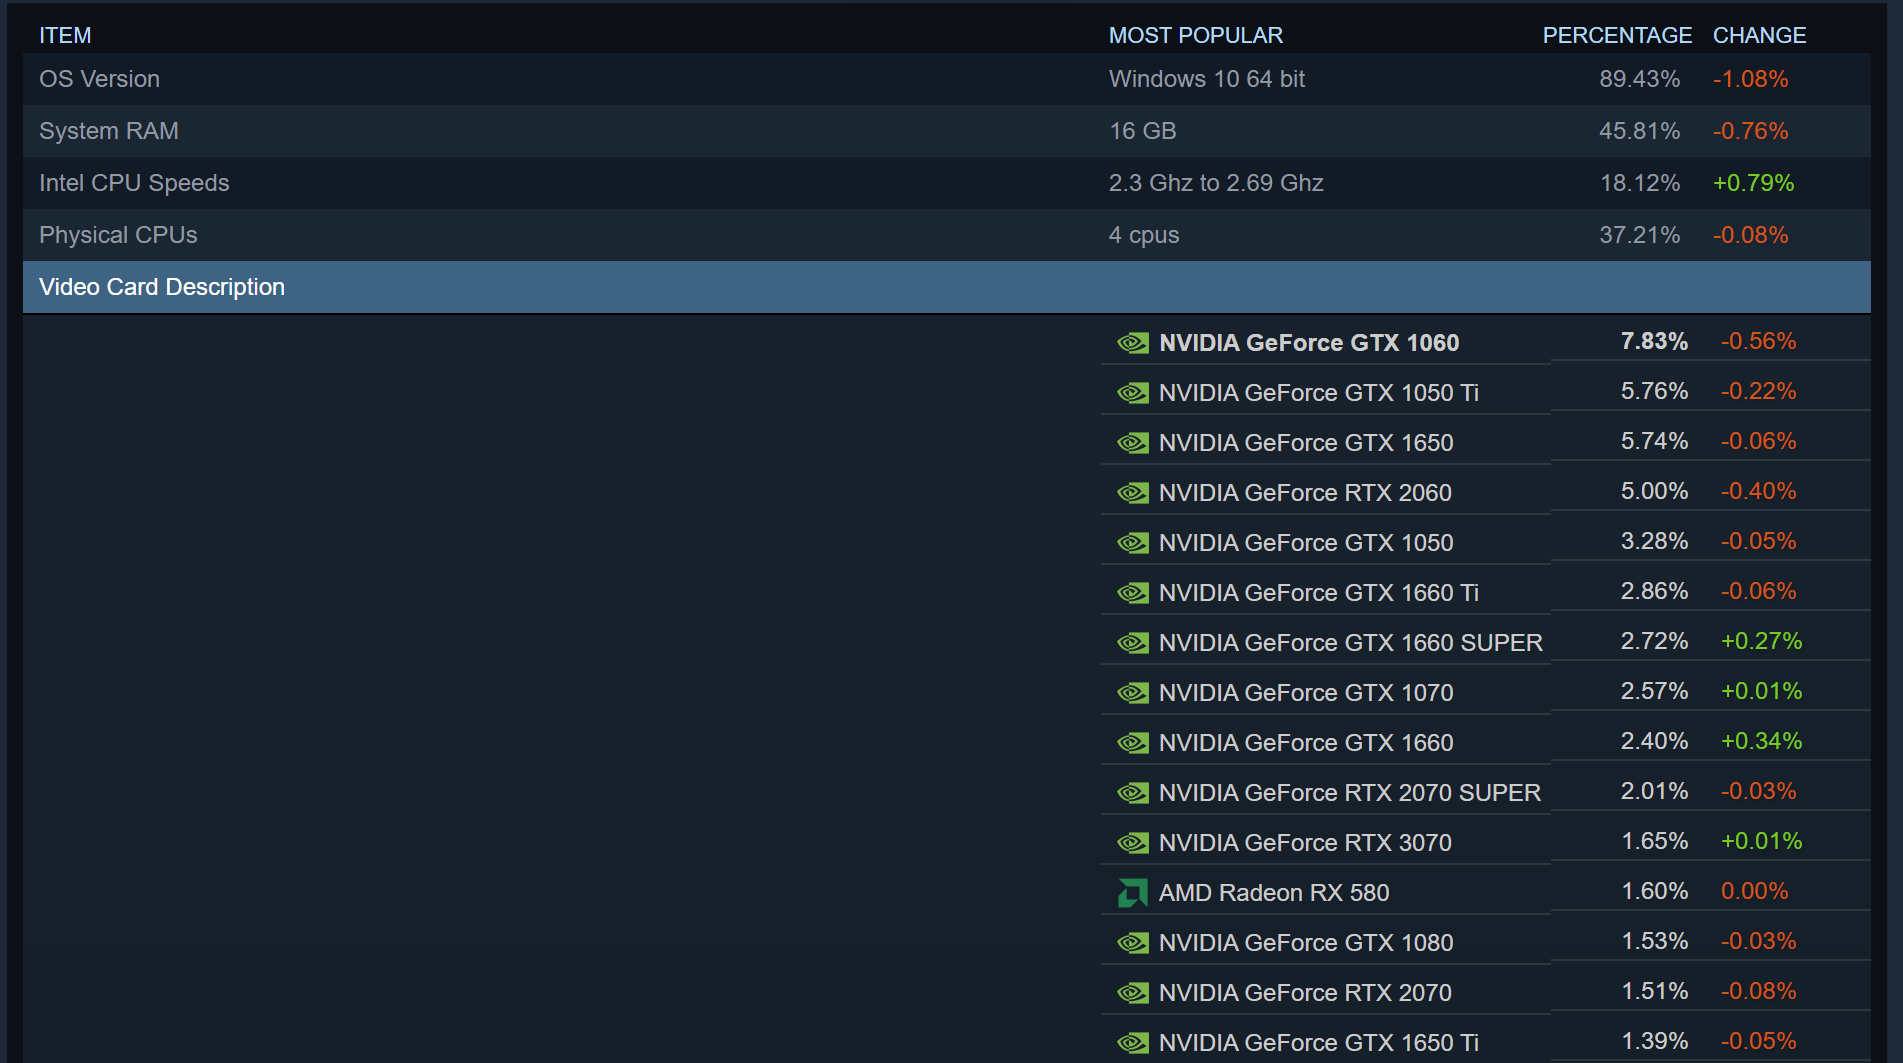
There's a wide range of these GPUs that have different features and architectures.
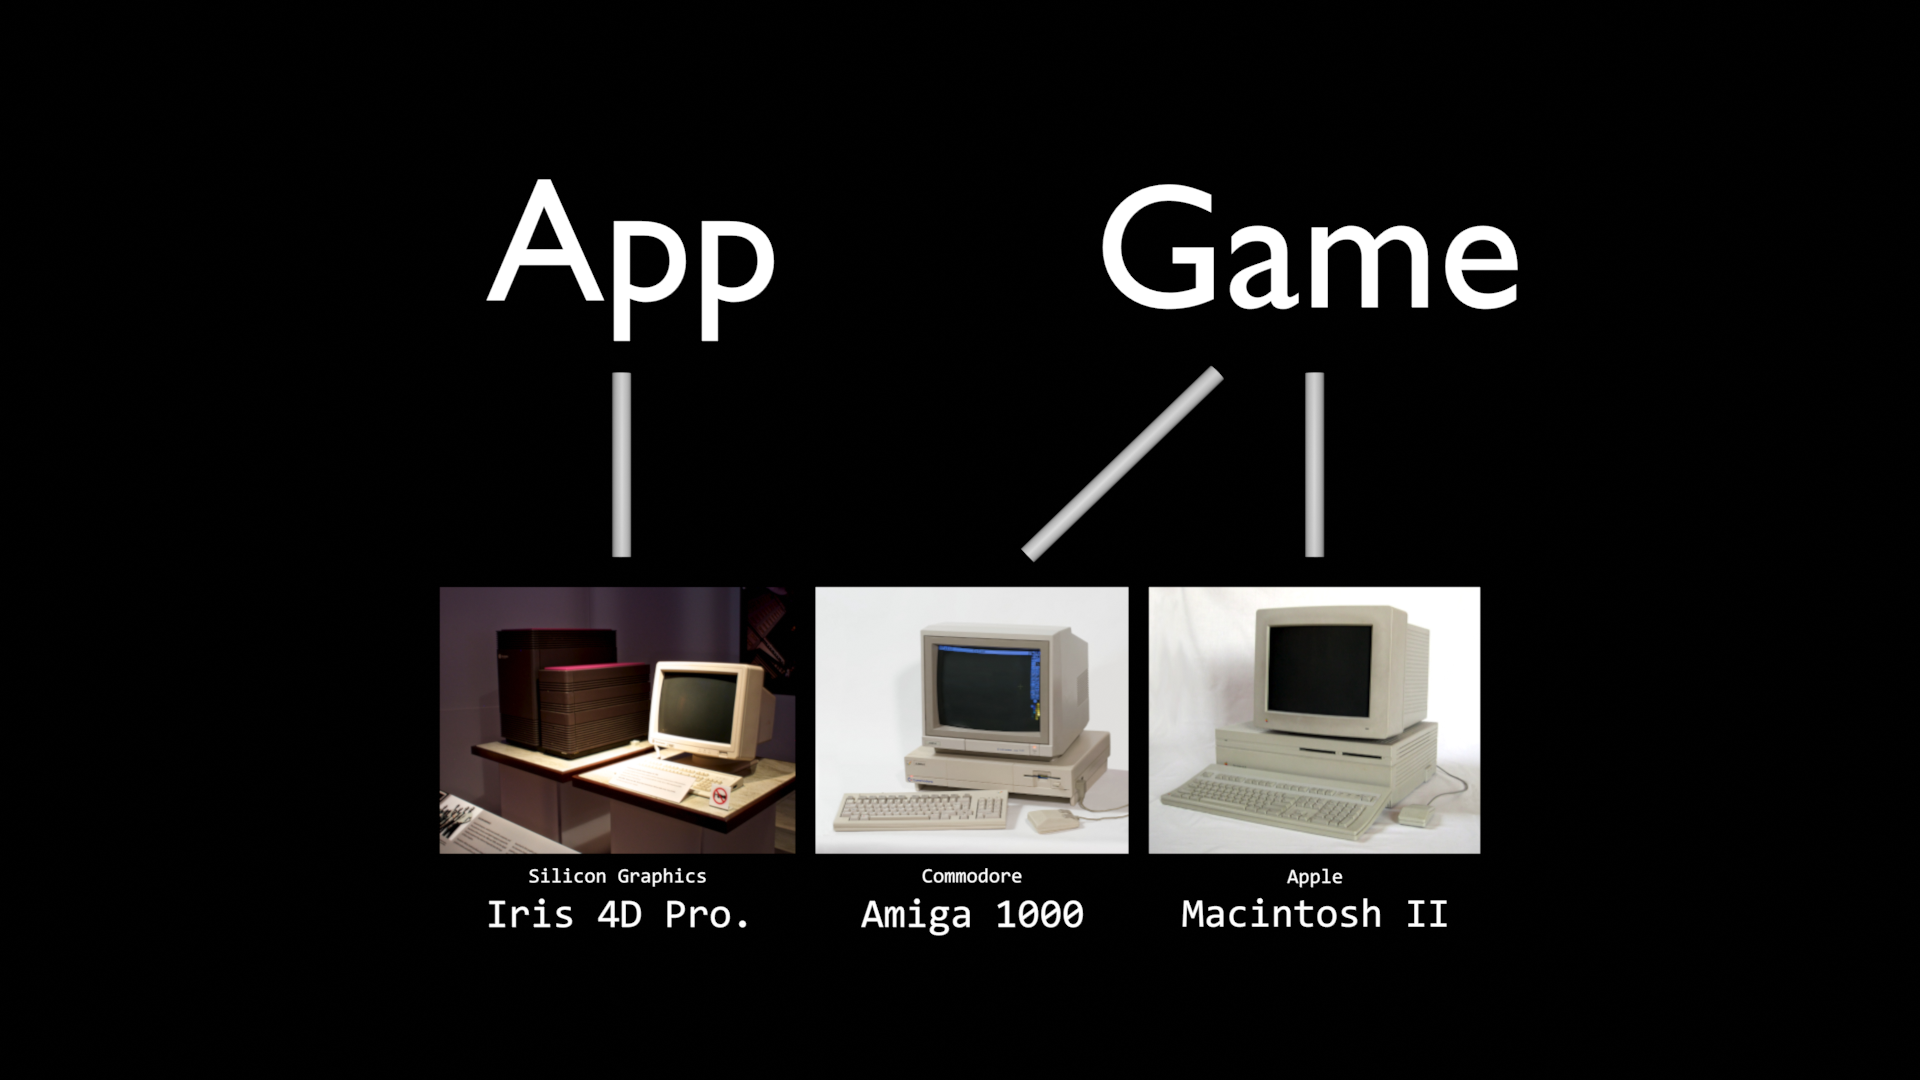
In the 1980s, there was a smaller range of GPUs available and developers would write code for the hardware that they would support. However, this turned into an issue in 1994. The Lion King Game came out with many drivers for different types of computers. The game has issues with Compaq computers. Causing Disney's support to be flooded with issues with the game, and parents were given a CD with v1.1 that included better support for more hardware.
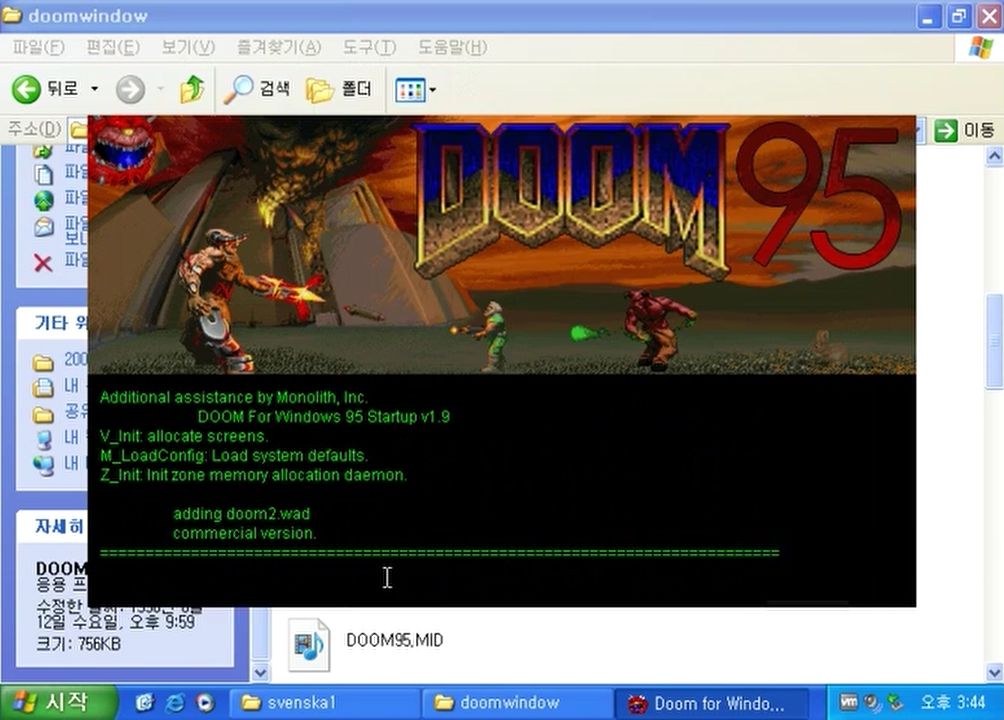
Microsoft recognized this as a limitation of Windows and created DirectX as a solution. The first game using DirectX being Doom 95 with Gabe Newell being the one who started porting the game over to Windows.
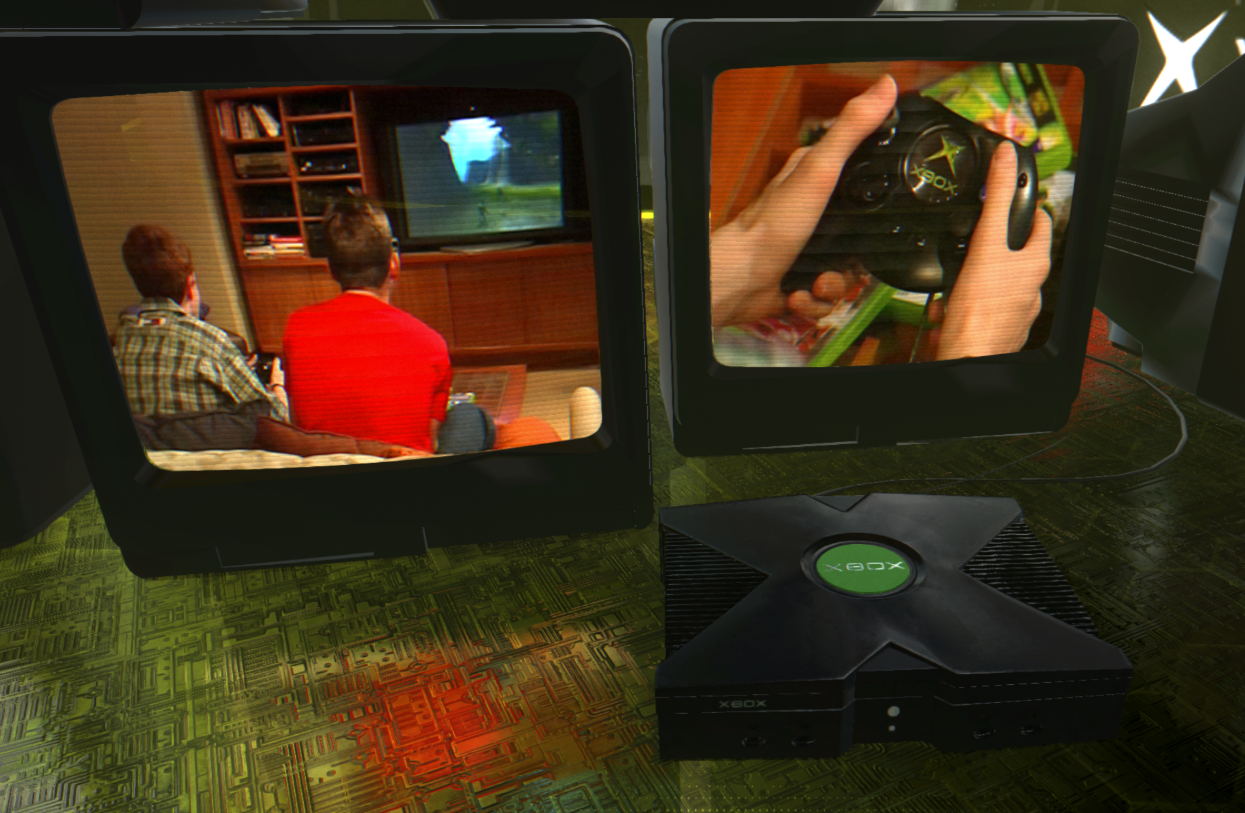
Microsoft would also develop a custom version of Windows CE for the Sega Dreamcast with DirectX and would later use DirectX to form the basis of Microsoft's Xbox game console.
In case, you aren't aware, APIs, short for Application Programming Interfaces, give applications a way to interact with something. For example, a game can sent GPU instructions to DirectX and DirectX would translate that into something that the GPU understands. Examples of a graphics API include OpenGL, Vulkan, and DirectX.
These APIs are designed with 3D graphics in mind, but the same functionality can be used for 2D graphics. For example, the game above look like it's in 2D, but you can rotate the camera, and in motion, you can see that there's a third dimension.
Many developers don't use these APIs, at least not directly. Game engines like Unity usually handle this for you. However, without a game engine, you can use rendering libraries to handle the different graphics APIs for you. Examples include BGFX, three.js, and Filament.
Triangles are commonly used as the basic building blocks for graphics. Triangles can be connected together to make more complex shapes that we'll call polygon meshes.
You can use images to get smaller details on the surfaces of triangles. This is known as texture mapping. To get this to work, not only do you need the image, but each point or vertex in the polygon mesh needs to be mapped like locations on a treasure map. This map is known as the UV map.
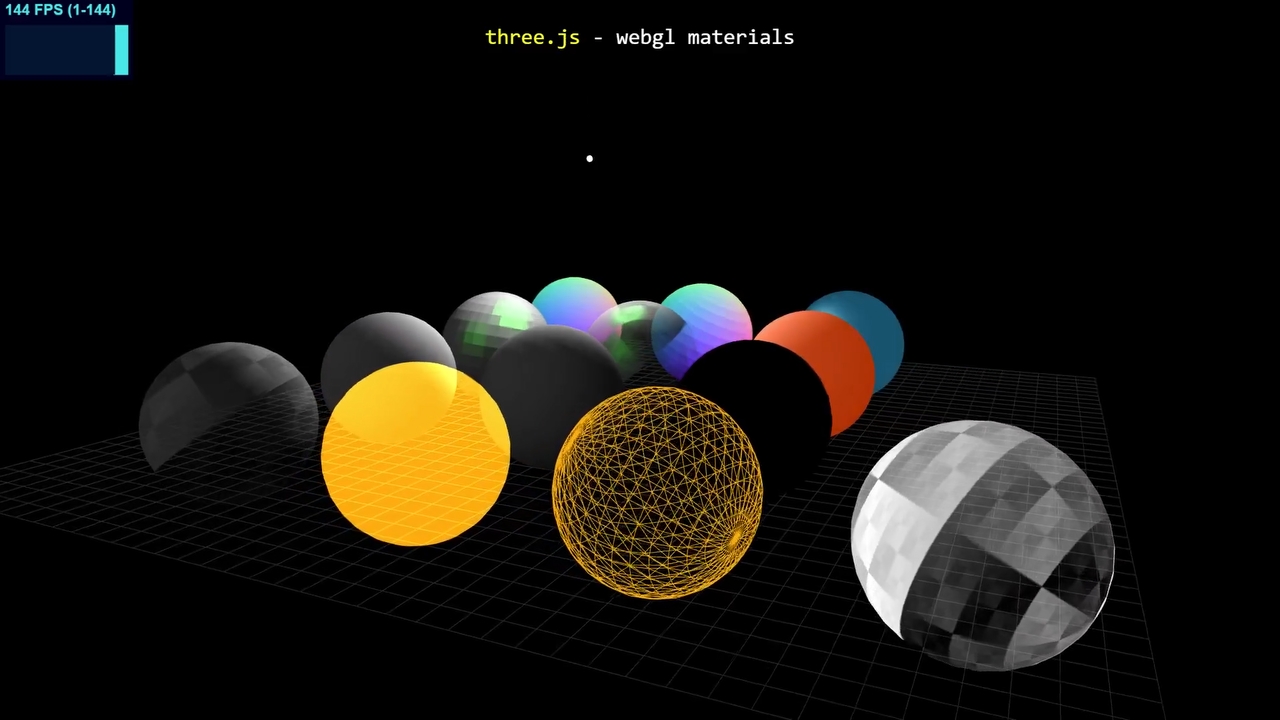
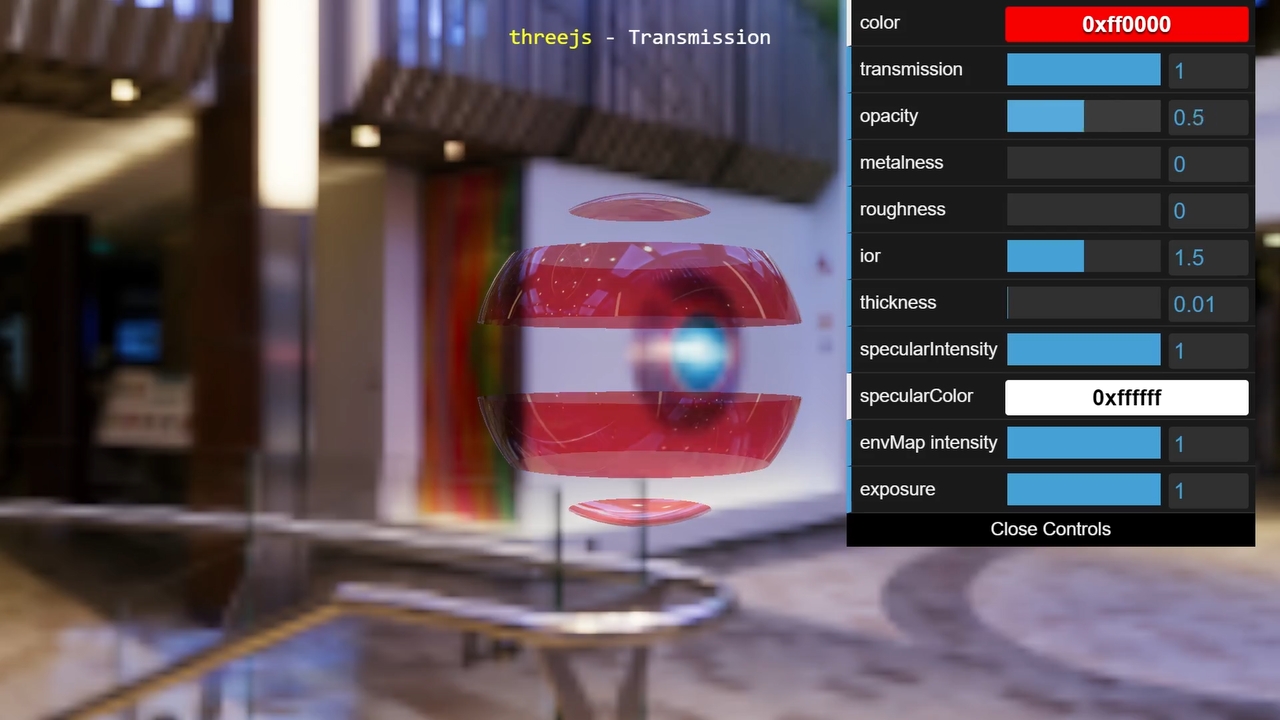
You may also change how light reacts to a triangle's surface using materials. You can create materials using shaders or code for the GPU is run with numbers or textures as inputs.
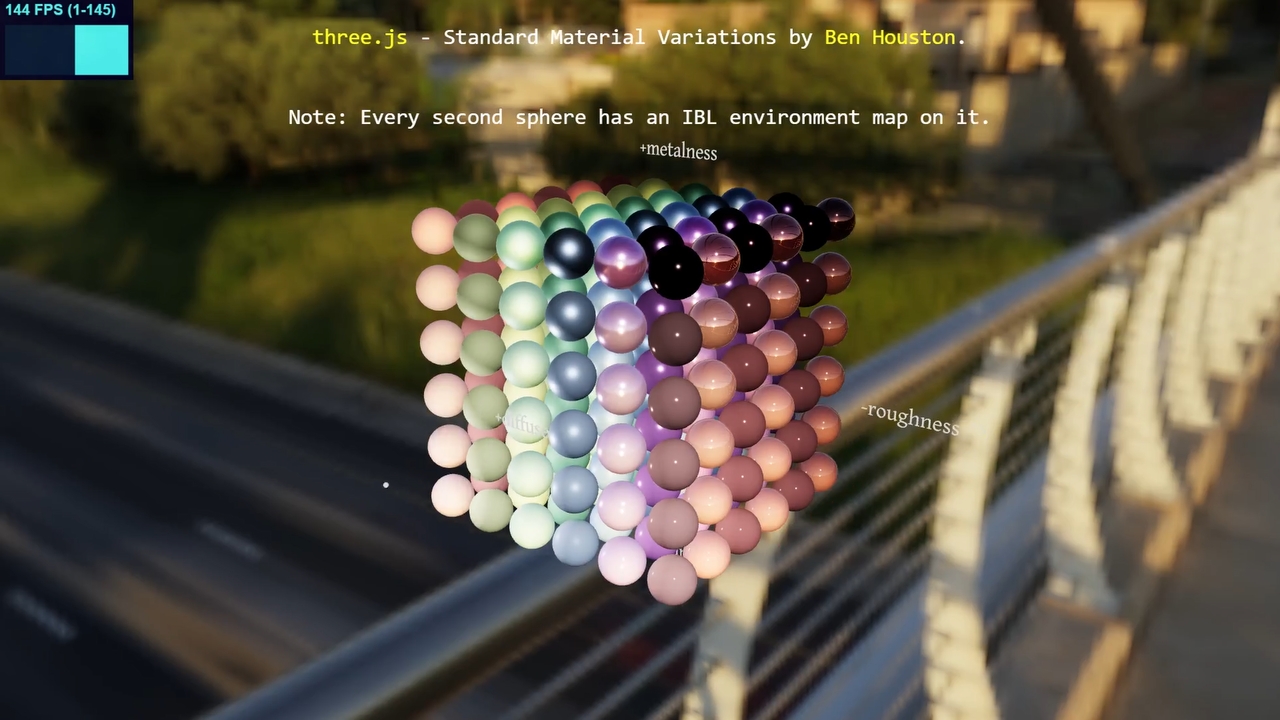
three.js example materials variations
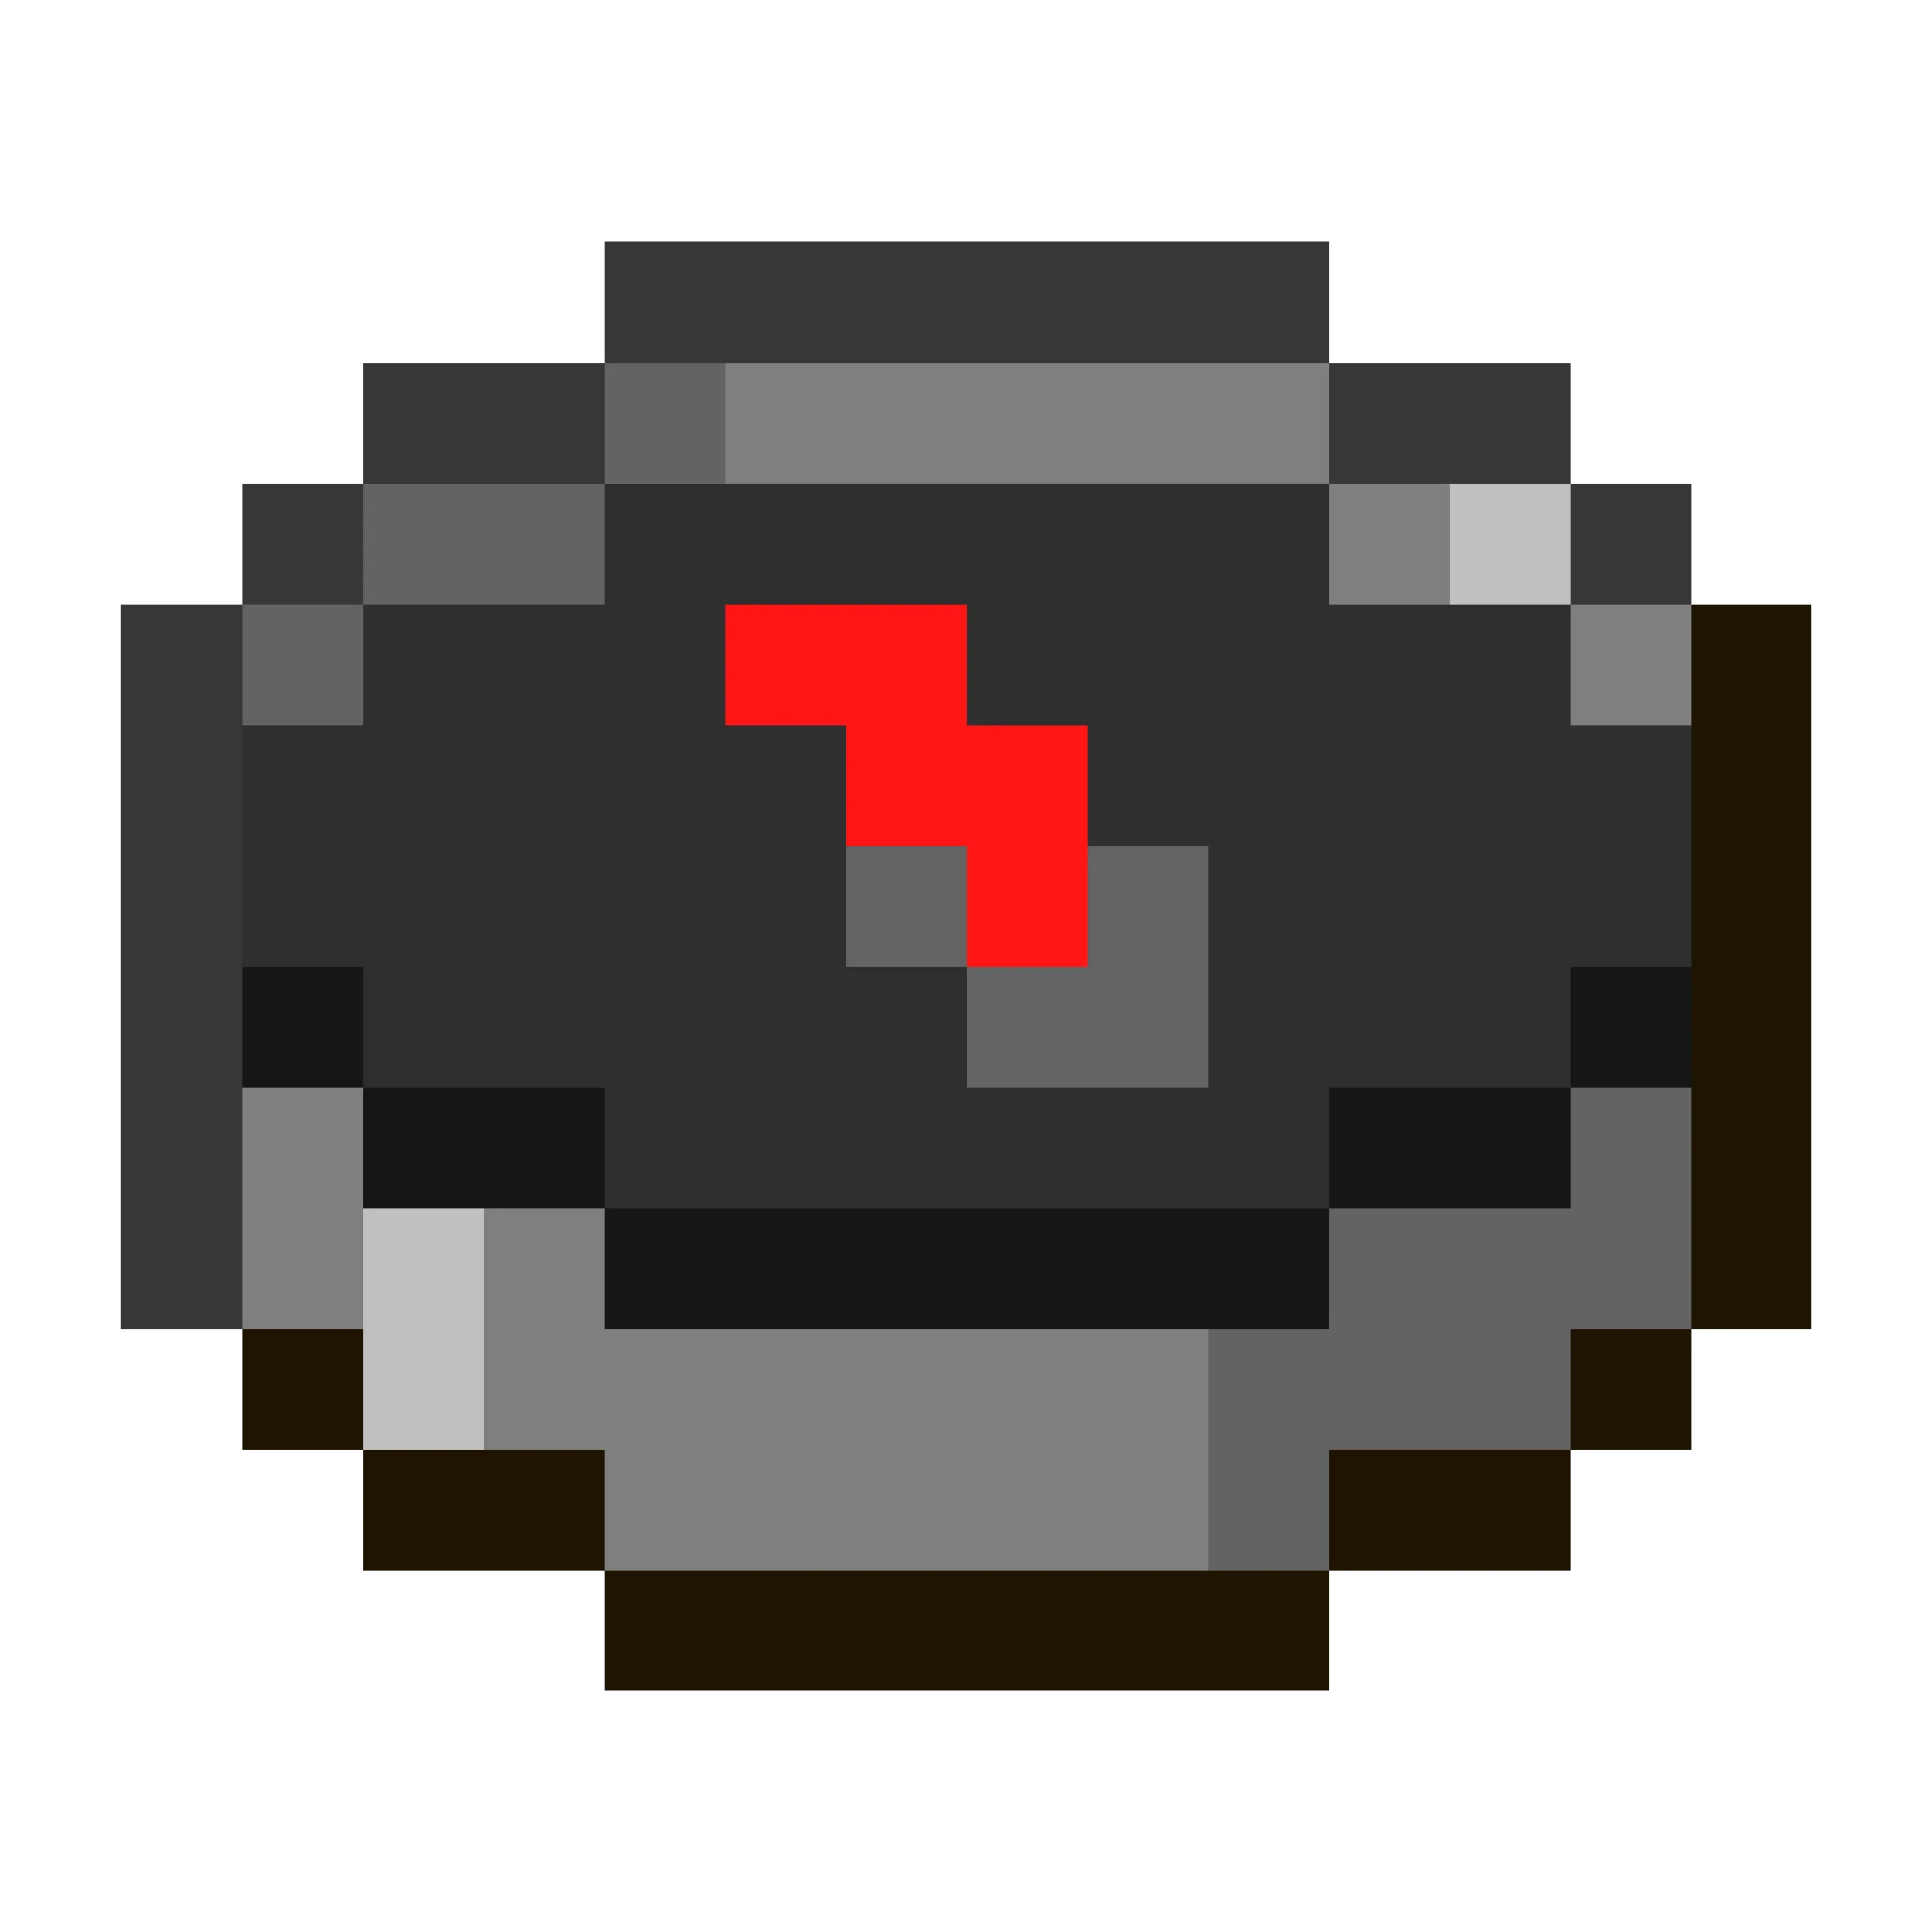
As an example, let's recreate the Minecraft compass and spin its needle.
import * as three from 'three';
First, I chose to use three.js for rendering, TypeScript as the programming language, and WebPack. To set up your tools, you'll need to install node.js, NPM, and the following packages: typescript @types/three webpack webpack-cli webpack-dev-server. You'll then need to set up TypeScript and WebPack, but I personally just used a template I found online.
this.scene = new three.Scene();
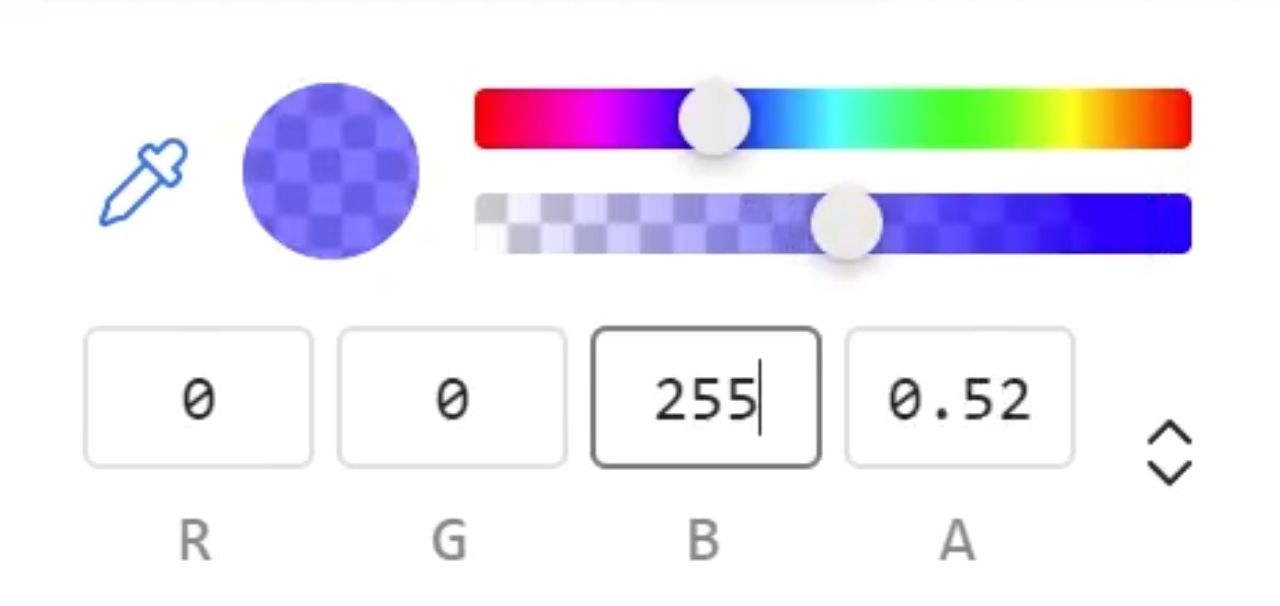
this.scene.background = new three.Color("gray");
Now, create a scene, where we'll place any lights, cameras, and objects. We'll also set the background color to gray. A colored background is useful for when the scene isn't working.
this.camera = new three.PerspectiveCamera(70, window.innerWidth / window.innerHeight, 1, 1000);
this.camera.position.z = 500;
The scene shouldn't be gray just yet, as a scene needs a camera.
There are 2 types you can choose from, perspective and orthographic.
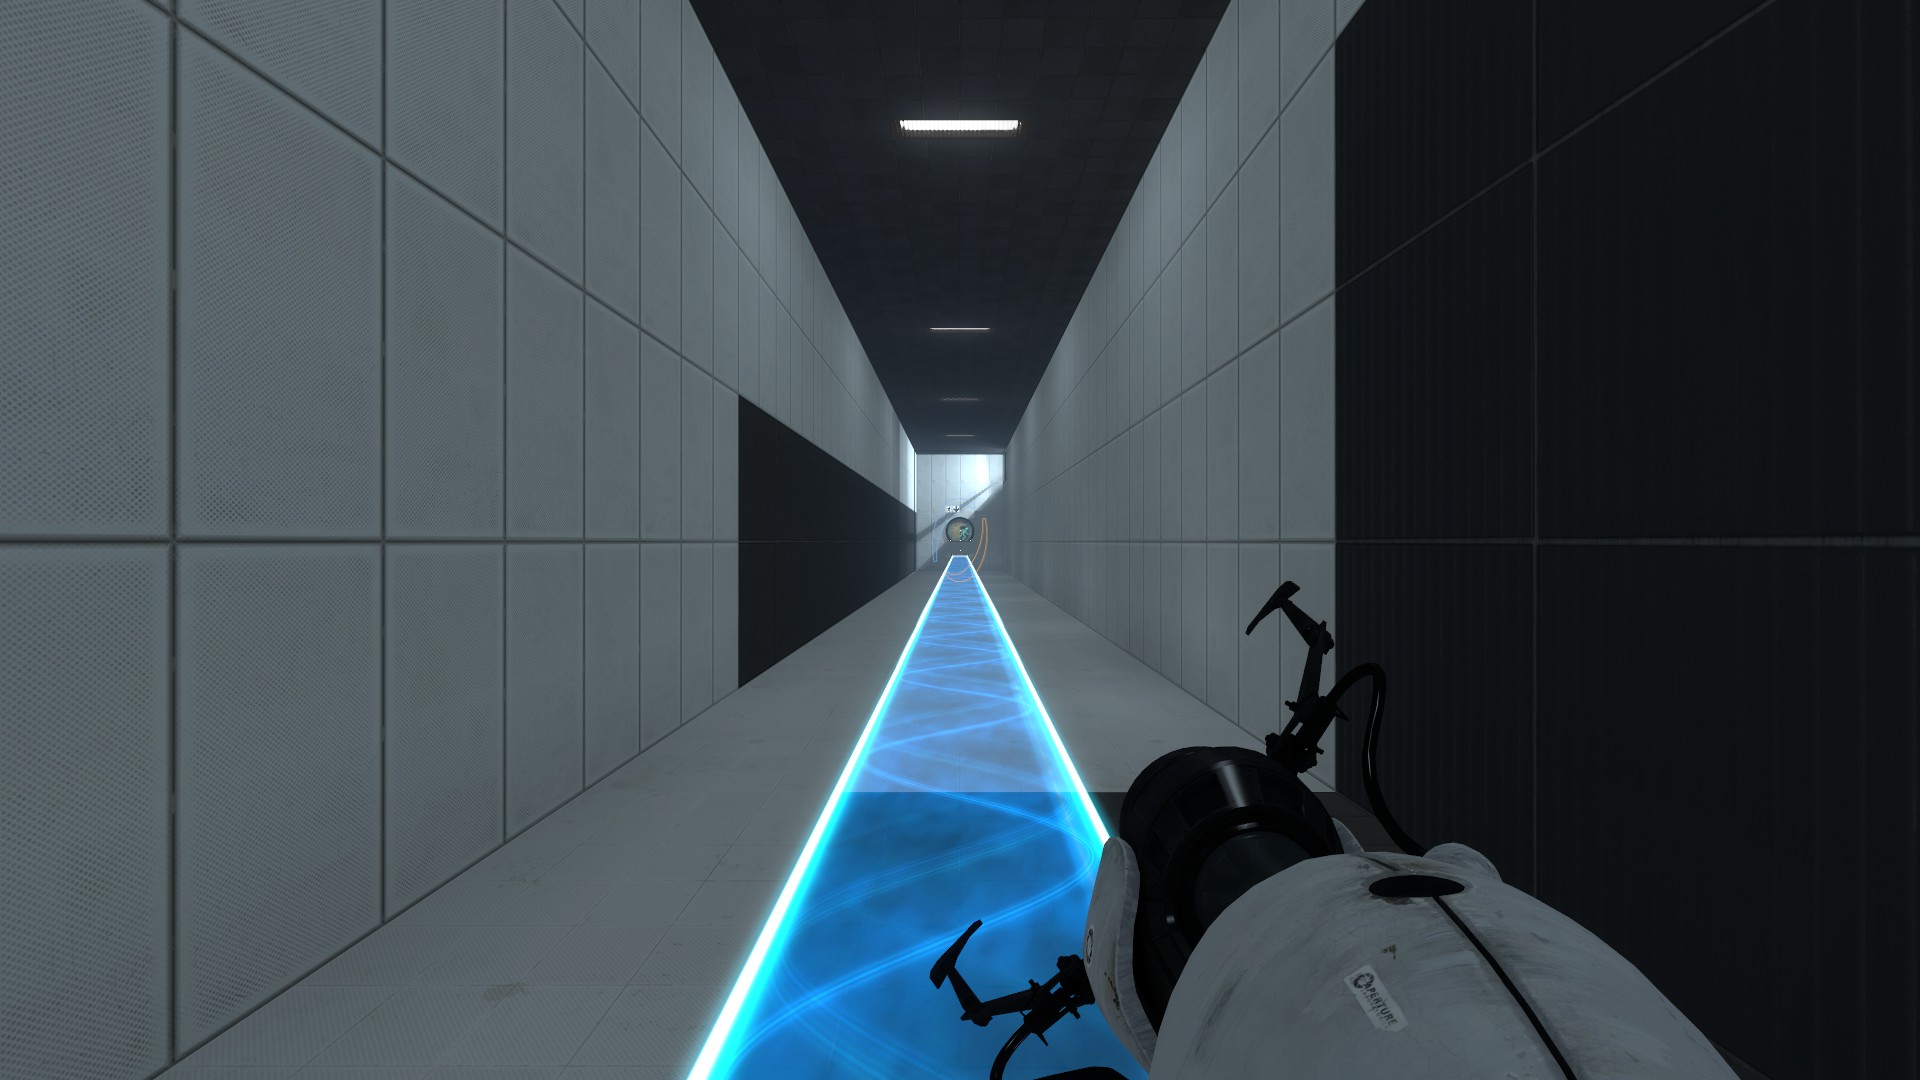
Perspective projection in Portal 2
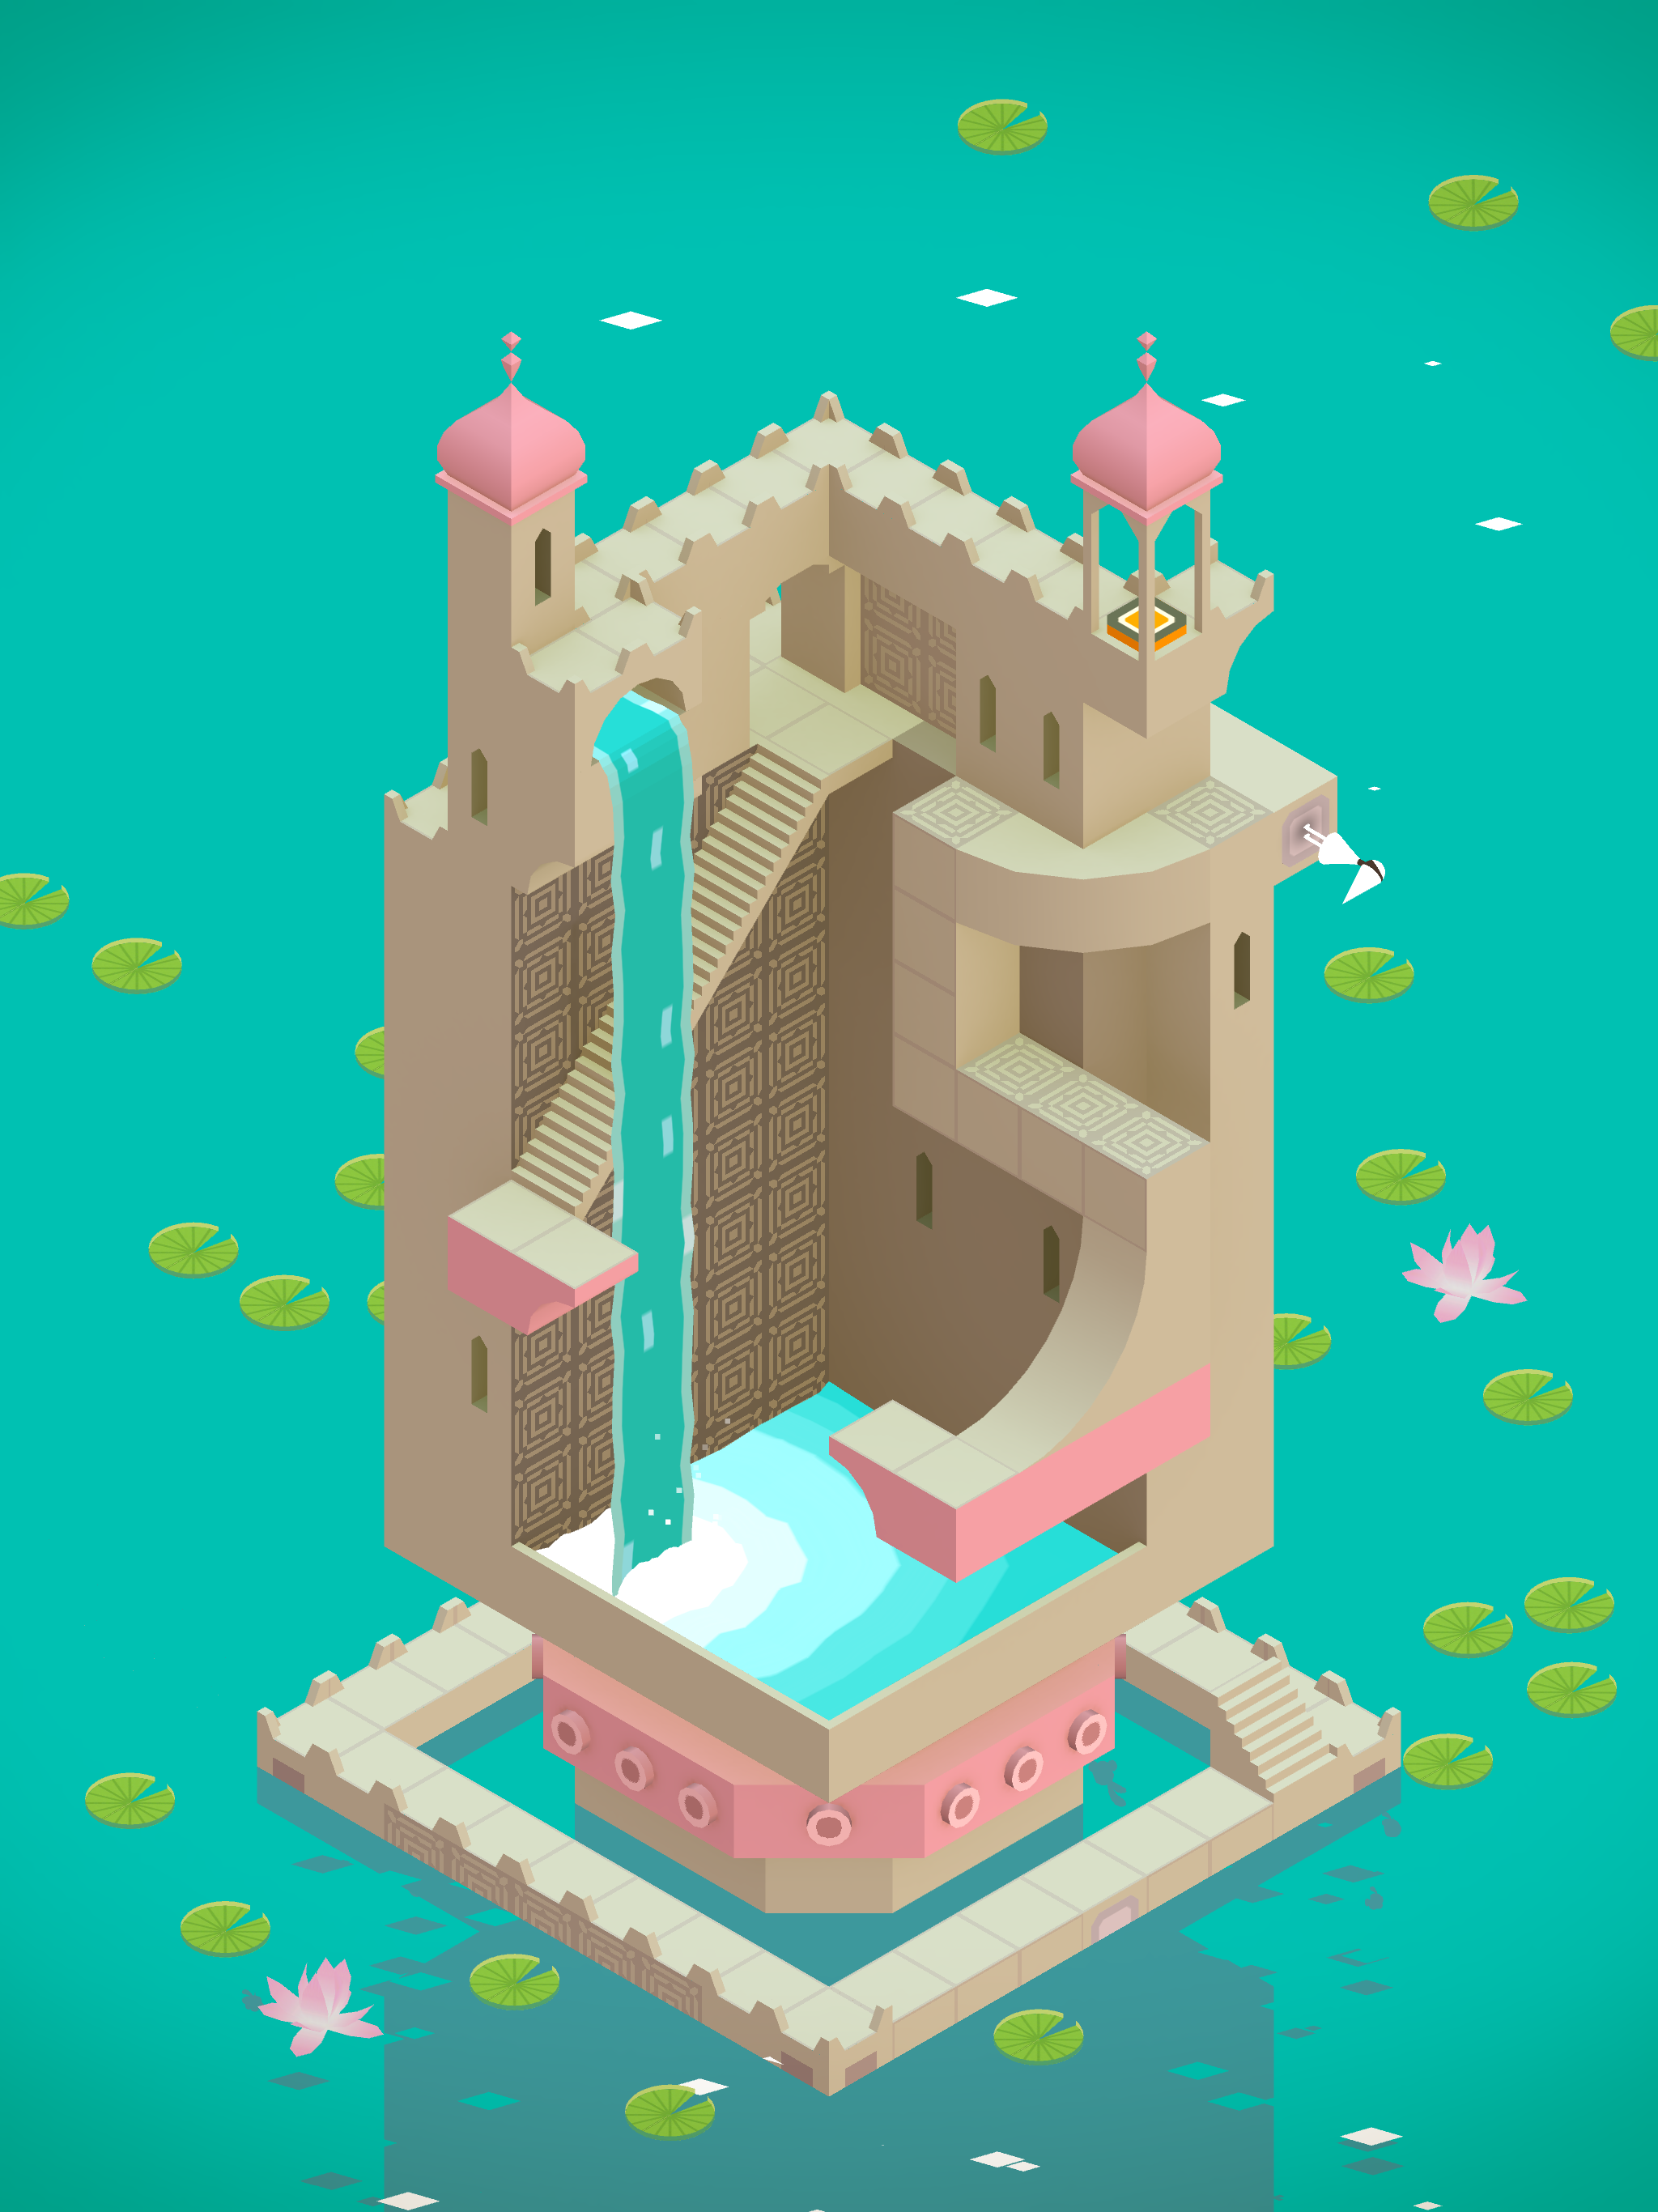
Orthographic projection in Monument Valley
With perspective projection, objects will appear smaller when they are farther away from the camera. Orthographic projection doesn't do this, and instead things will appear the same size no matter the distance away from the camera.
//create the renderer
this.renderer = new three.WebGLRenderer();
this.renderer.setPixelRatio(window.devicePixelRatio);
document.body.appendChild(this.renderer.domElement);

//start animating
this.animate = this.animate.bind(this);
window.requestAnimationFrame(this.animate);
animate() {
    window.requestAnimationFrame(this.animate);

    this.renderer.render(this.scene, this.camera);
}
We'll create a loop that'll animate our compass. In the loop, you call the renderer's render function and give it the scene and camera.

Doing this correctly should give you a gray output.
const meshPromise = new Promise<three.Mesh>((resolve, reject) => {
    new three.TextureLoader().load('compass.png', (texture) => {
        const geometry = new three.PlaneGeometry(600, 600);
        const material = new three.MeshBasicMaterial( {map: texture } );

        var mesh = new three.Mesh(geometry, material);

        this.scene.add(mesh);
        resolve(mesh);
    })
});
Now let's load in our mesh. This is the texture file that we'll be using. Loading a texture from a file will take an unknown amount of time, so you'll want to have it done in the background. The geometry and the material also needs to be defined. That'll be a plane, and the material should just output the color of our texture. Create the mesh using the geometry and material and add it to the sense.
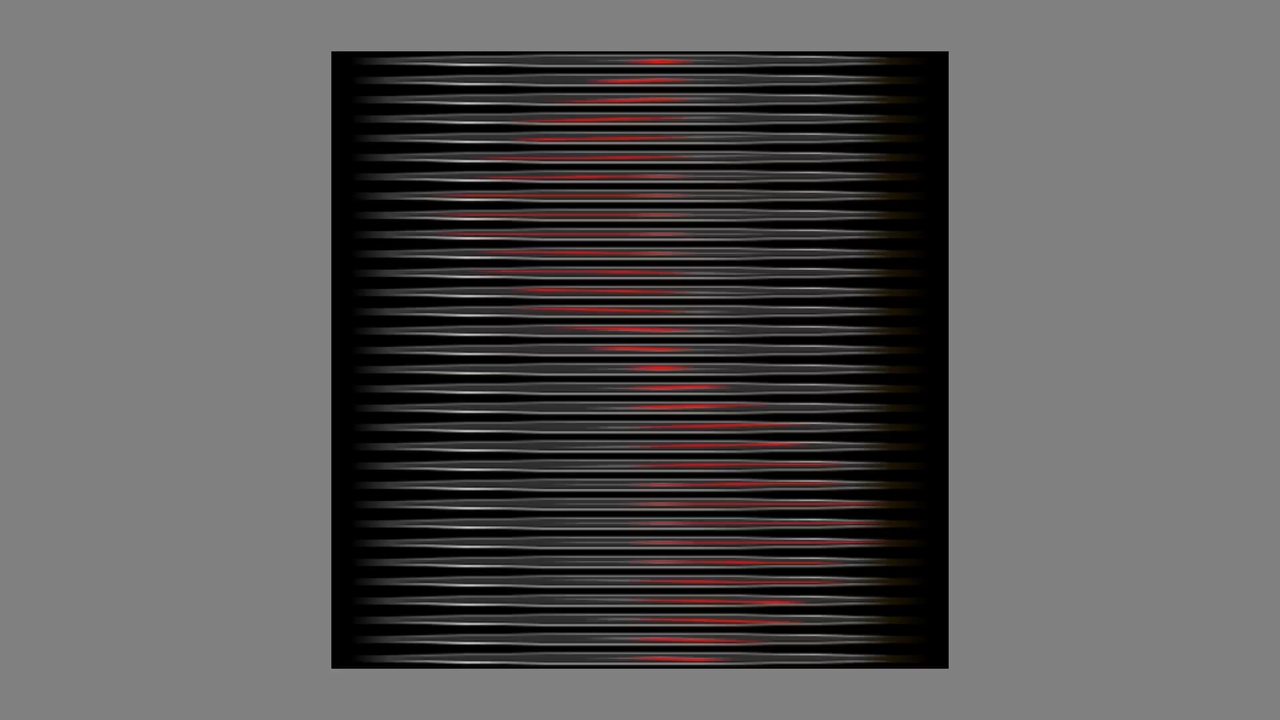
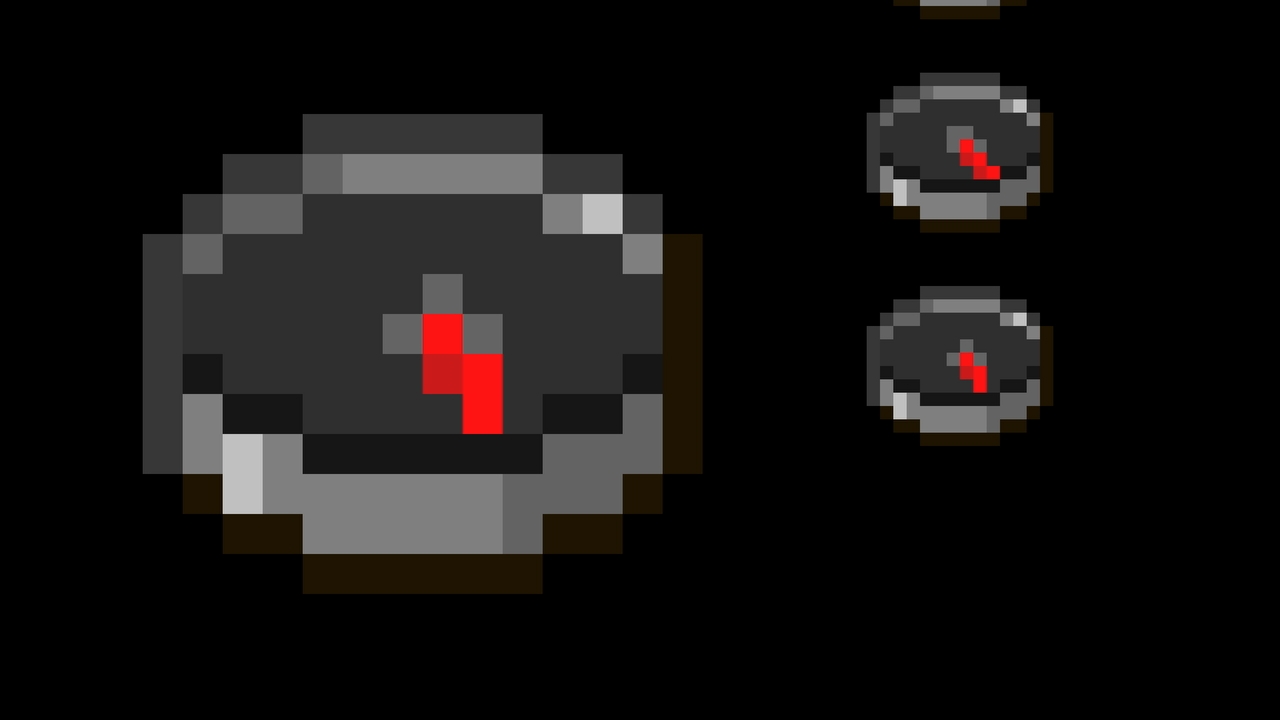
You should get a strange looking texture as a result.
This is because the texture is repeated many times on the texture, and it mapped the corners of the tall image to the corners of our square.
texture.repeat.set(1, 1/2);
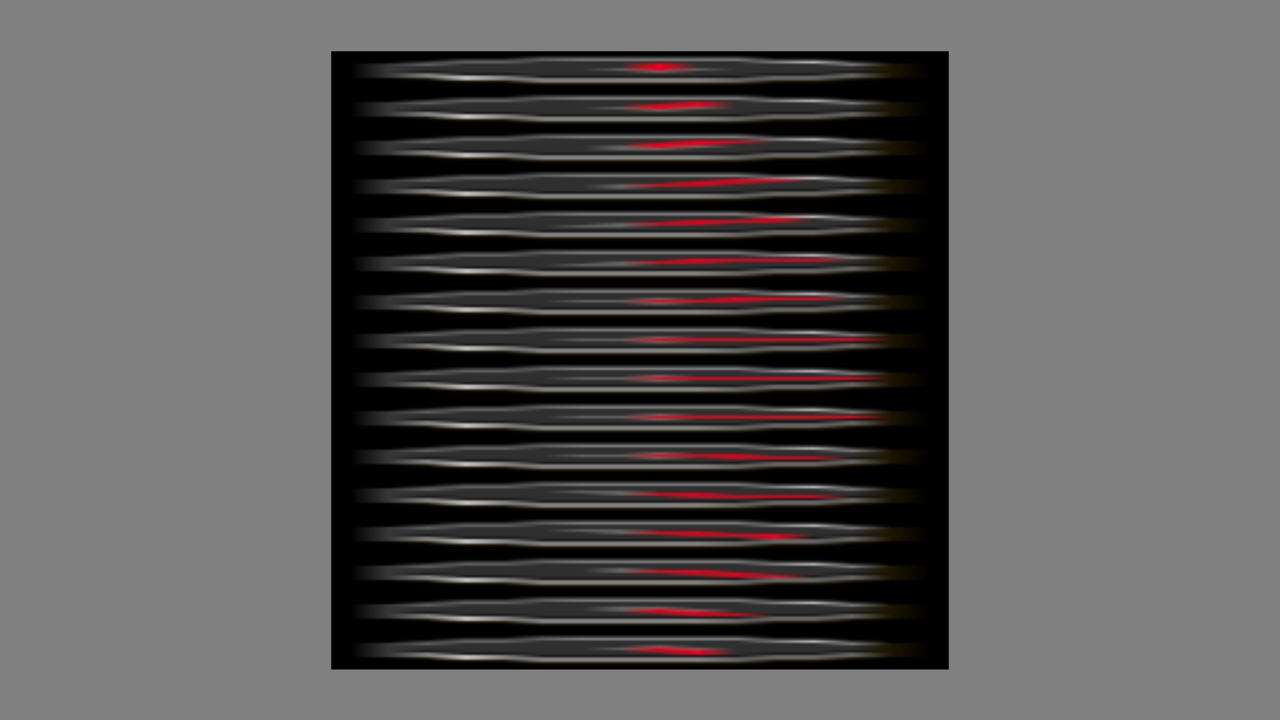
To fix this, I set the texture's repeat vector. This allows textures to be repeated many times, but you can use a fraction to zoom in on the texture.
const frameSize: number = 16/512; // same as 1/32
texture.repeat.set(1, this.frameSize);
So, on the y-axis, we use 1 over how many times the compass is repeated on the texture.
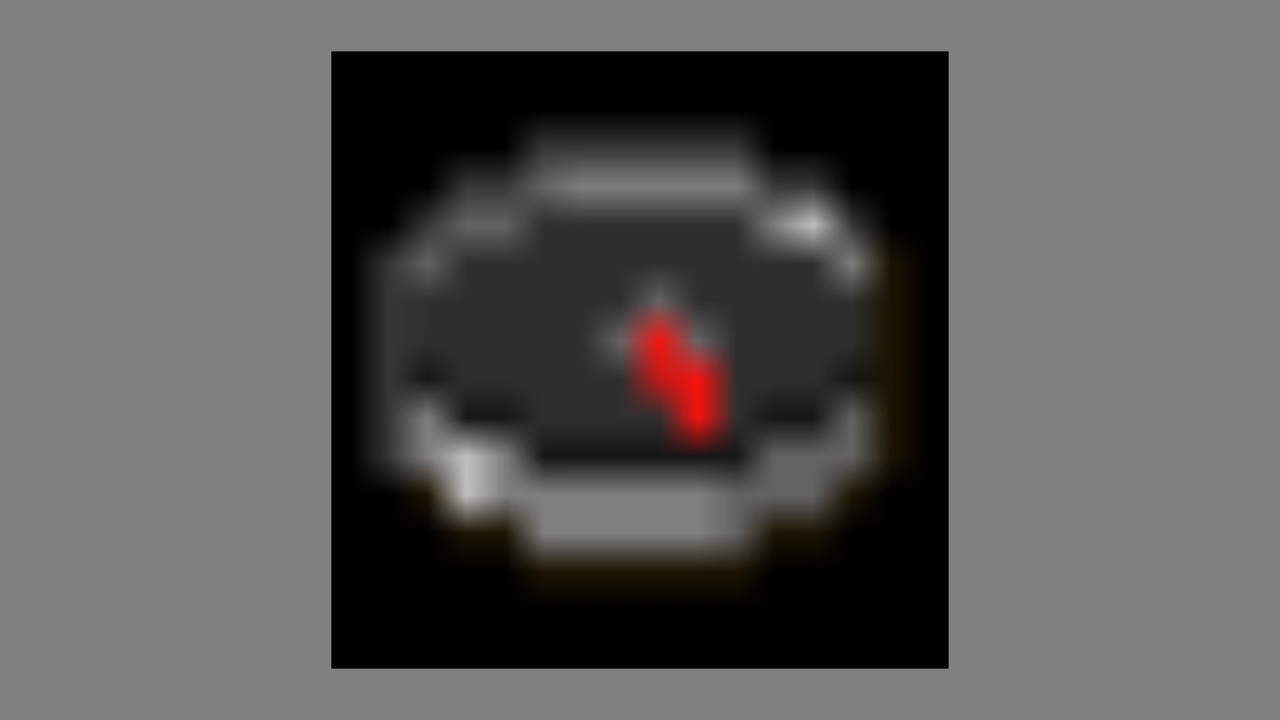
The result should be a blurry compass.
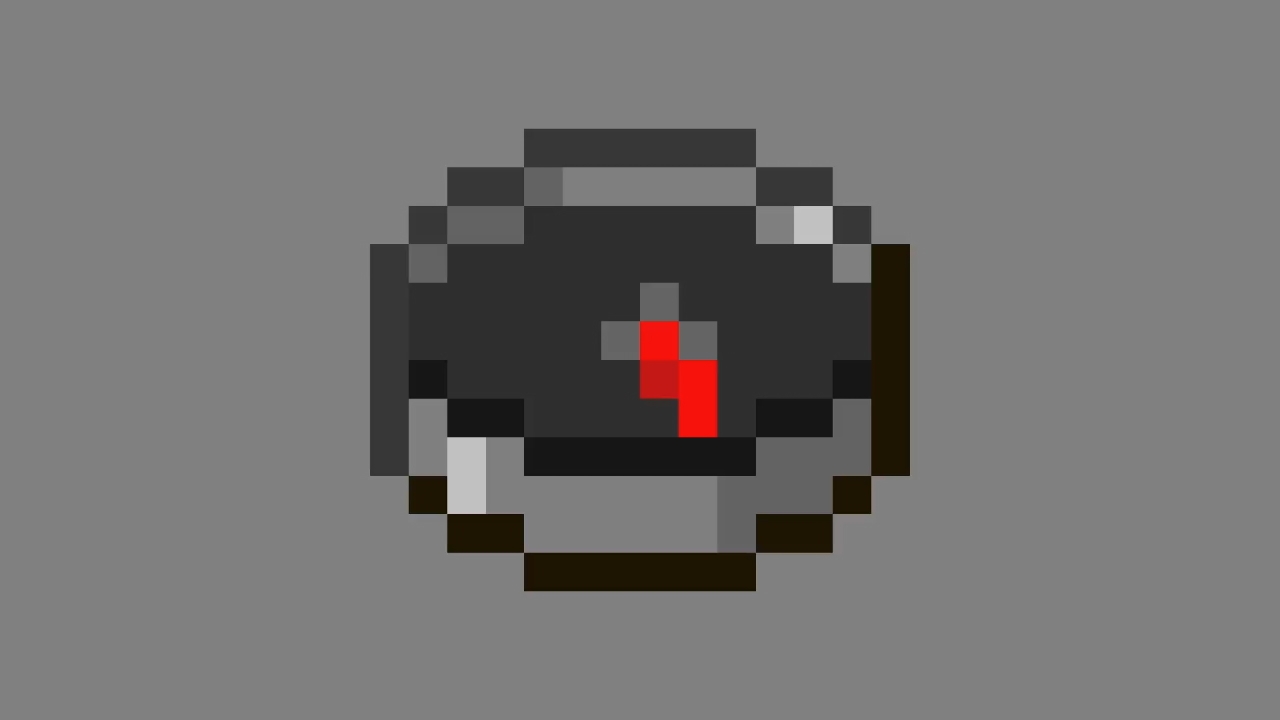
The compass in Minecraft isn't blurry, it's pixelated.
texture.magFilter = three.NearestFilter;
To get the same effect, change the magnification filter.
The magnification handles texture pixels that are bigger or the same size as a pixel on the screen.

The default is usually linear, which uses an average of the 4 closest pixels on the texture.

To get the pixelated effect, we want to use the nearest pixel on the texture.
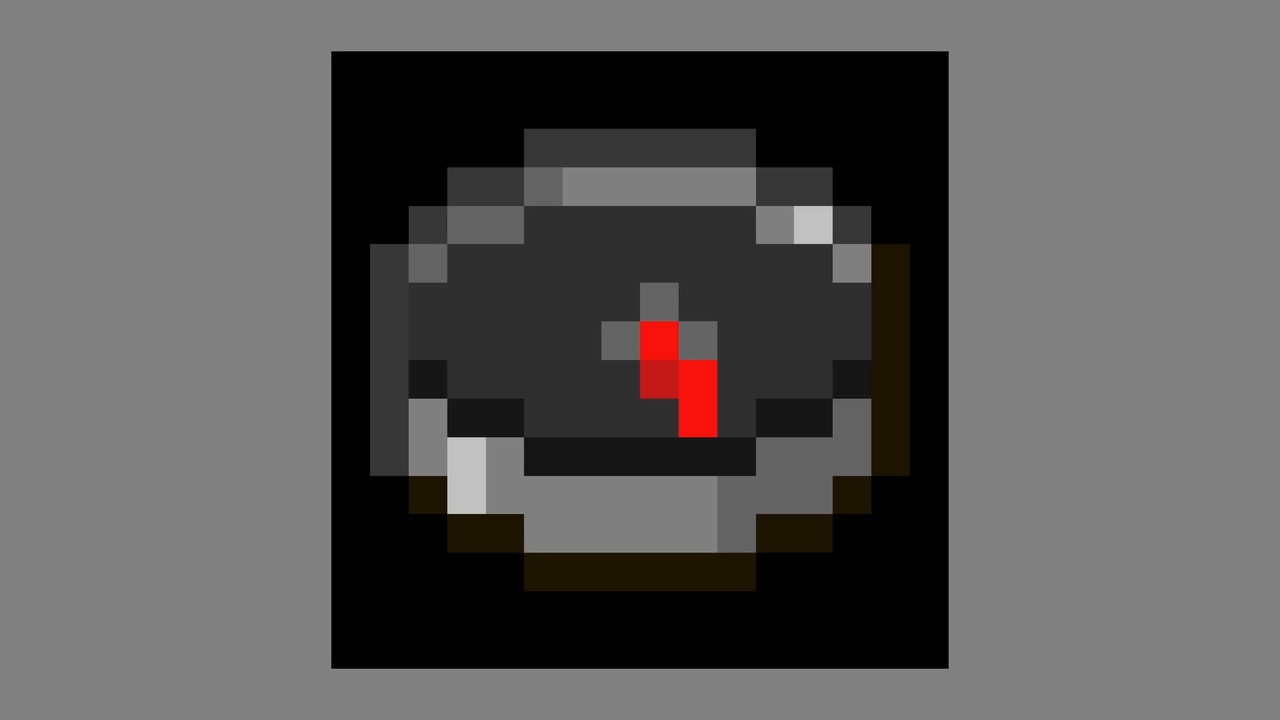
Resulting in a pixelated compass.
material.alphaTest = 0.5;
Let's also remove the black background around the compass.
Each pixel on the compass texture has 4 values, red, green, blue, and alpha. The alpha value goes from 0 for transparent, 1 for opaque, and around 0.5 for translucent.
For translucent material, they are given special treatment that lets them blend in with objects that are behind it. However, this blending can be slower to render and for this texture, the alpha values on this texture are either 0 or 1 because of nearest filtering. So, it makes sense for us to use an alpha text instead. Using an alpha test, makes the renderer ignore parts of the material where the alpha value is larger than the alpha test.
Now you should see a compass on a gray background.
this.frameNum += 1;
(mesh.material as three.MeshBasicMaterial)?.map.offset.set(0, 1 - this.frameSize * this.frameNum);
const frameCount = 512/16;
this.frameNum = this.frameNum % frameCount;
With all that out of the way, let's start animating the compass.
If you look at which frame of the compass if being rendered, it's the one at the very bottom of the image.
This is because 0 in our UV map is on the bottom left.
So, using an offset of 1 - 1/32 gives the first frame. The 2nd frame would be 1 - (1/32 * 2). Giving us the formula 1 - (frameSize * frameNum), with frameNum being set to frameNum + 1 every time we render. You might also need to loop the frameNum back to 1, when it gets higher than the number of frames available, to allow for a looping animation and this can be done with % or modulo.
And we're done. Here's the final code.
If you have any question, please feel free to do so in the comments. I'll make a part 2 if this content becomes successful and has lots of likes or claps.